6.4 bootsect.s读入setup.s
首先编写一个 setup.s,基本copy前面的bootsect.s代码,调整显示信息改成“Now we are in SETUP”。
编写 bootsect.s 中载入 setup.s 的关键代码load_setup和ok_load_setup部分,并去掉之前的无限循环代码。
6.5 再次编译
- 进入 linux-0.11 目录后此时会遇到
1
$ make BootImage
ERROR,因为make根据Makefile指引执行了tools/build.c,而这里面会向我们要“system”的核心代码,所以我们先打个补丁。
6.6 修改 build.c
build.c 从命令行参数得到 bootsect、setup 和 system 内核的文件名,将三者做简单的整理后一起写入 Image。
所以我们注释掉 build.c 的尾部,忽略所有与system相关的工作。再次编译运行
1
2
3
$ cd ~/oslab/linux-0.11
$ make BootImage
$ ../run
6.6实验结果
运行截图: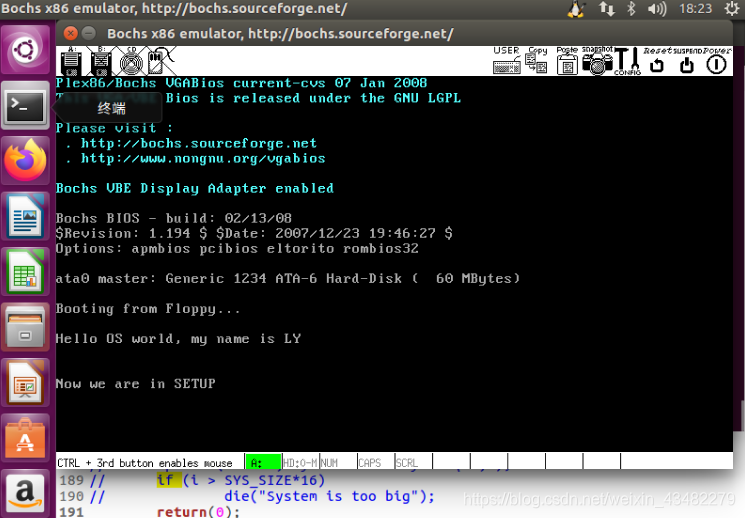
相关代码:
build.c
1 |
|
setup.s
1 | ! /home/ly/oslab/linux-0.11/boot/setup.s |
bootsect.s
1 | ! /home/ly/oslab/linux-0.11/boot/bootsect.s |
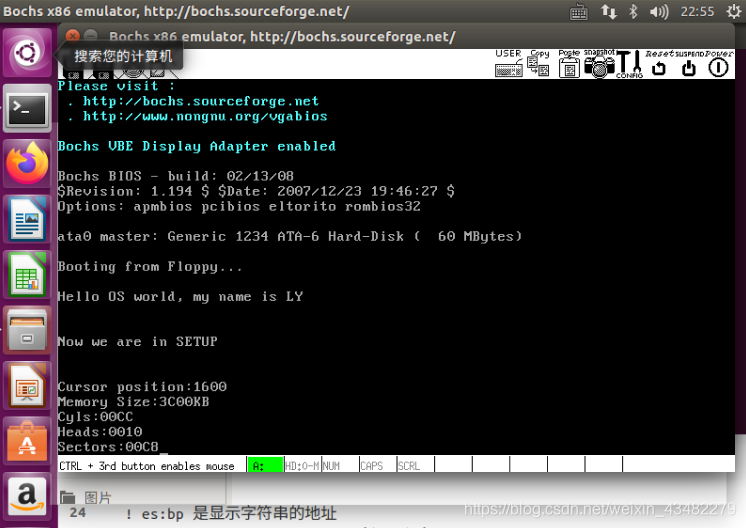
6.7 setup.s 获取基本硬件参数
- 将硬件参数取出来放在内存 0x90000
6.8 显示获得的参数
- 显示 16 进制数
setup.s代码
1 | ! /home/ly/oslab/linux-0.11/boot/setup.s |
运行结果: